
So in honor of that... I thought I would offer a tutorial on how to cut a layered cake.... this can easily apply to a wedding cake, but it also can be used for a child's birthday cake (usually of the first birthday variety).... and yall, this is going to be ghetto, but it is going to be ghetto-FAB-U-LOUS! because I am not a professional baker and this is not a professional food shoot... but hopefully it will be helpful. (oh and go ahead brace yourself for lots of pics)
First things first.... this is definitely a two person job and can get overwhelming fast... brides, please make sure you have at least 2 people at your cake tables (and make sure they read this post, so you dont have a butchered cake!).... things needed: a cake knife, a cake server, plates and forks for the guests to eat the cake, but you will also need a damp cloth of some sort (and something to put it on so it doesnt get the tablecloth wet) - this is important as cake cutting with sticky icing is messy and the more icing there is, the harder it is to cut nicely
Allright.... so here we are.... this is my lovely "wedding cake" that I made... it may not look fantastic-o, but it sure did taste good...
 Here it is in all its tungsten-light glory... woo hoo!
And on to the table, where this demonstration is actually going to take place.

The first thing you want to do is to remove the top layer.... if its for a wedding, the bride and groom will save this to eat a year later... if you arent sure, save it anyway.... if its a birthday cake, this top layer makes a perfect little smash cake.... to remove, take the cake server and slide it under the top layer, use the knife - flat - on top, to move it to a plate...
.
*It is important, especially with wedding cakes, to be careful of dowel rods in the cake - be aware, and if possible, move the server over to one side and continue.
 And we have lift off... :)
 Go ahead and plate this top part and move on to the cake.
 Looks yummy!
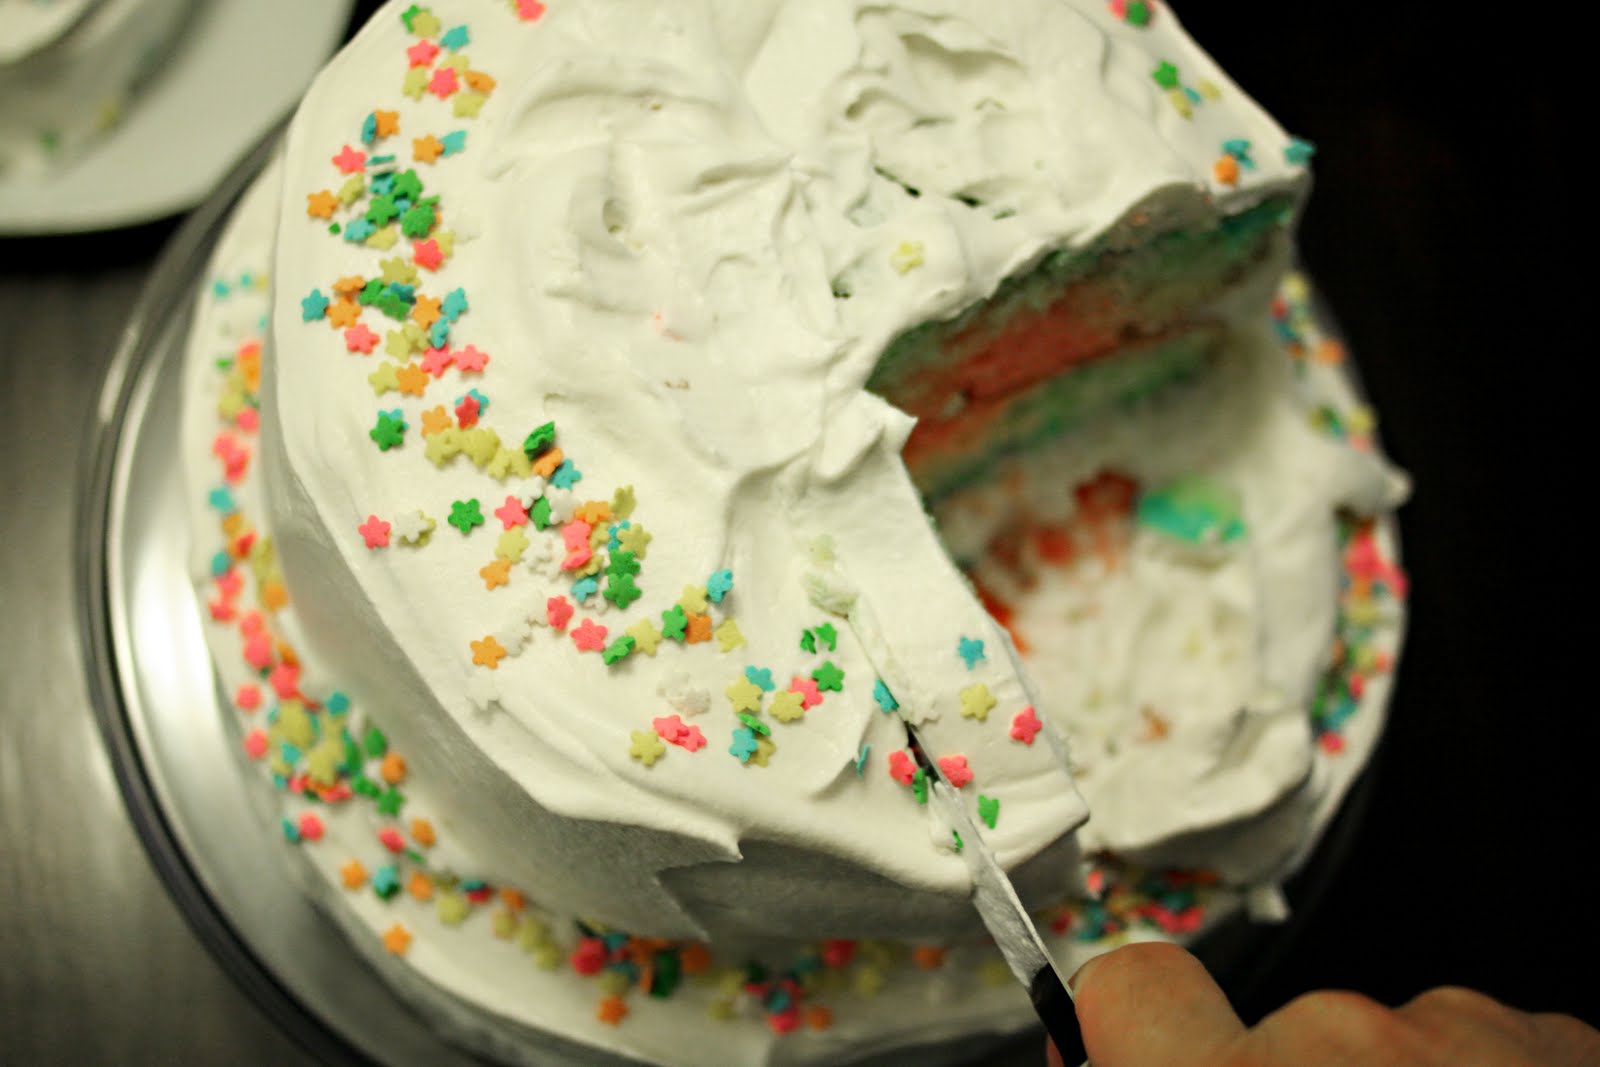
Ok, here is the number one mistakes most cake cutter/servers make.... they start from the bottom and try to work their way up.... NUMBER ONE RULE FOR CUTTING A LAYERED CAKE: ALWAYS, ALWAYS, ALWAYS START AT THE TOP AND WORK YOUR WAY DOWN.... its easy to see why people start at the bottom - this is usually where the bride and groom start cutting - this is only for photos.... its ok if there is a small piece missing on the bottom where the bride and groom cut - but you need to start at the top!
.
And at the top.... go about 3-4" inches vertically from the bottom of the cake (this layer is an 8" cake so the middle is about 4")... start in the middle and make a horizontal cut all the way across the layer. (note, if the layer is quite larger, then only cut about 5" or less - however big the blade on your knife is - from the side)

 Then start back at where you started and cut all the way verticall down... this will leave you with probably a good quarter of the cake...

Now you can start cutting your slices.... the better way is to probably start from the outside and work your way in, but I like starting from the inside and cutting my way out - makes the most uniform pieces of cake.... each piece should be 1/2" - 1" in diameter.... this is where its important to have 2 people... as soon as you pull that first slice out, you need to have someone else there to plate it, and to also make sure that other cut part doesnt fall off the cake - this will be a big mess, and also why if youve never done this before, its probably a better idea to start from the outside and work your way in.

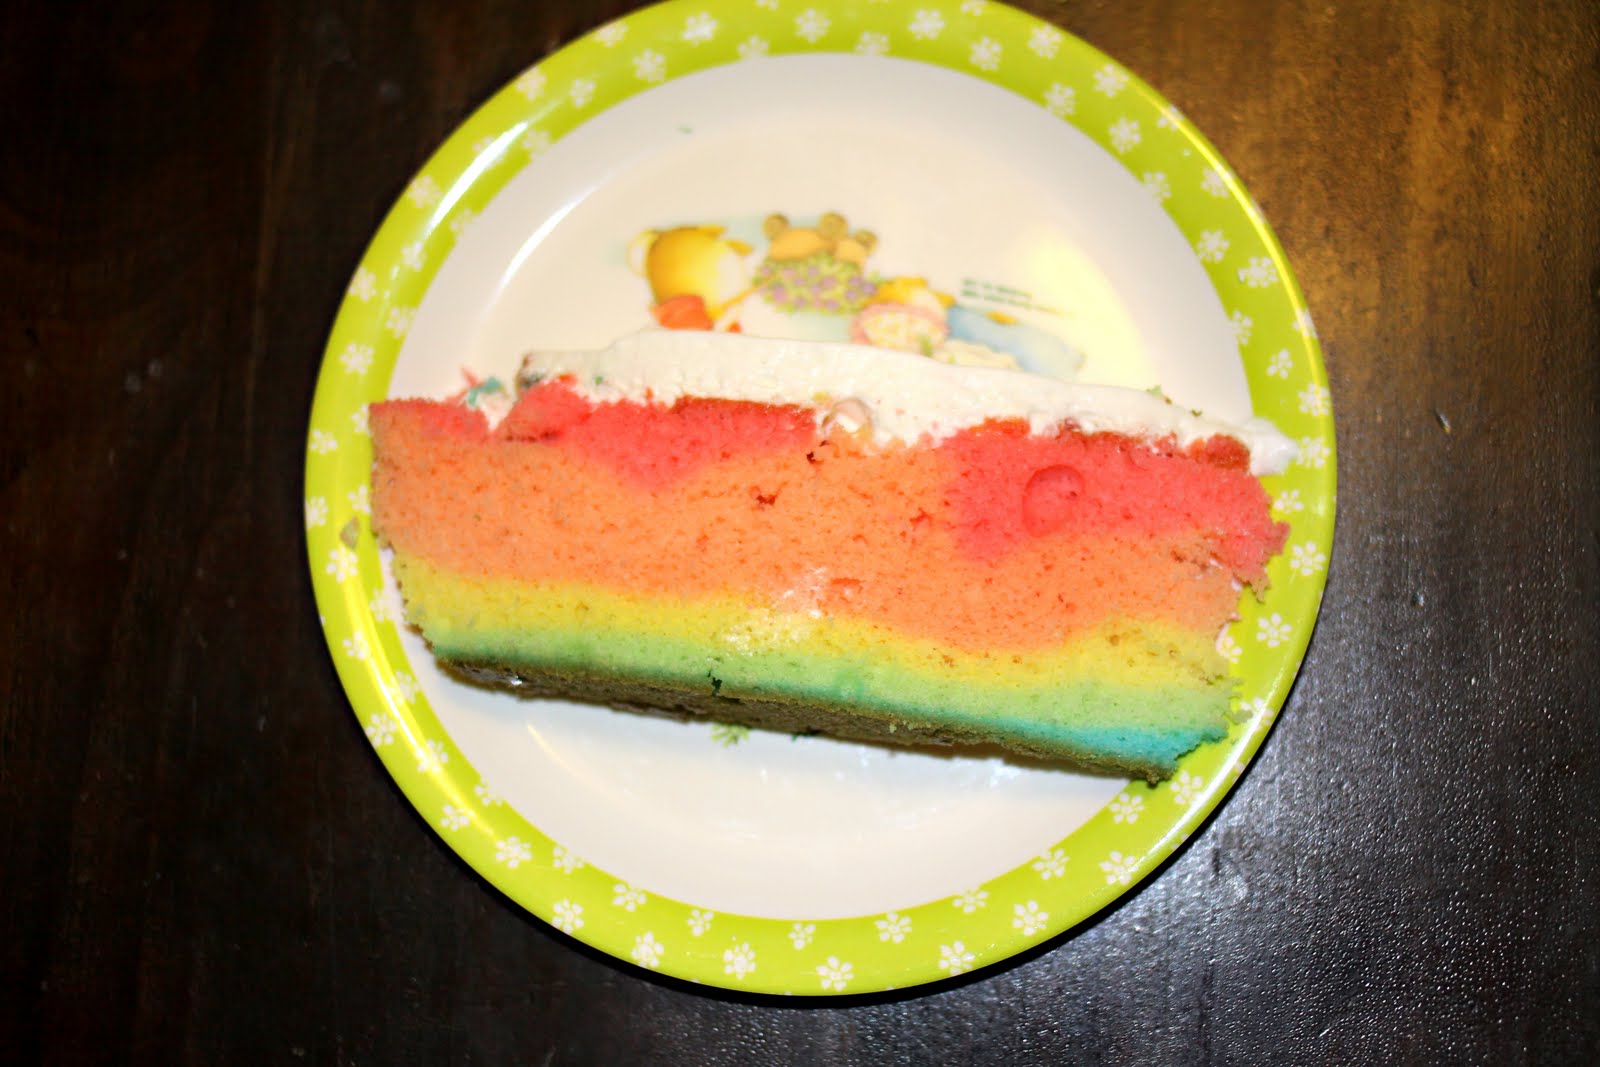
 Look how pretty this rainbow cake is!

 Its like a little piece of art!


 Look how pretty this rainbow cake is!
 Its like a little piece of art!
Alright, for the rest of this side, you can cut slice by slice....


 What the cake looks like so far....
 It did turn out really pretty the whole way through...

 This is a 10" layer, so we start like we did for the first layer.... go about 3" up from the bottom, start in the middle and cut horizontally across
 Then make your cut vertically to the corner of your other cut... not 1/4 of the cake this time, but still a good chunk.
 Then cut your slices about 1/2" - 1"... as I said before, I like to start in the middle, but if you are new at this, you probably want to start from the outside... again, make sure you have someone there to plate these slices and also to keep the cake from falling off
 Continue slicing...


 And plating...

 I love how even this bottom layer turned out... just like a real rainbow...
 Ok, once we have sliced our bottom row, we will move up.... this time I like to do the vertical cut first, so I can gage how far up to cut (want to stop about halfway from the top)
 As before, do your horizontal cut all the way to the edge
 Then slice.... again, make sure you have someone to plate and to balance the cake (its a little easier when its the bottom layer)


 We plated from the outside this time.... :)

 And here is what the cake actually looks like at this point.
 Go ahead and finish off that row...
 On to the last row.... go ahead and make your vertical cut in the middle
 And then slice as before.

 And there you have it.... :) (click on pics to view larger)


 What the cake looks like so far....
 It did turn out really pretty the whole way through...
For the remainder of that first layer, continue like you did before... cutting slice by slice... and dont forget to watch out for those dowel rods...
.
And now we arrive at the next layer...
 This is a 10" layer, so we start like we did for the first layer.... go about 3" up from the bottom, start in the middle and cut horizontally across
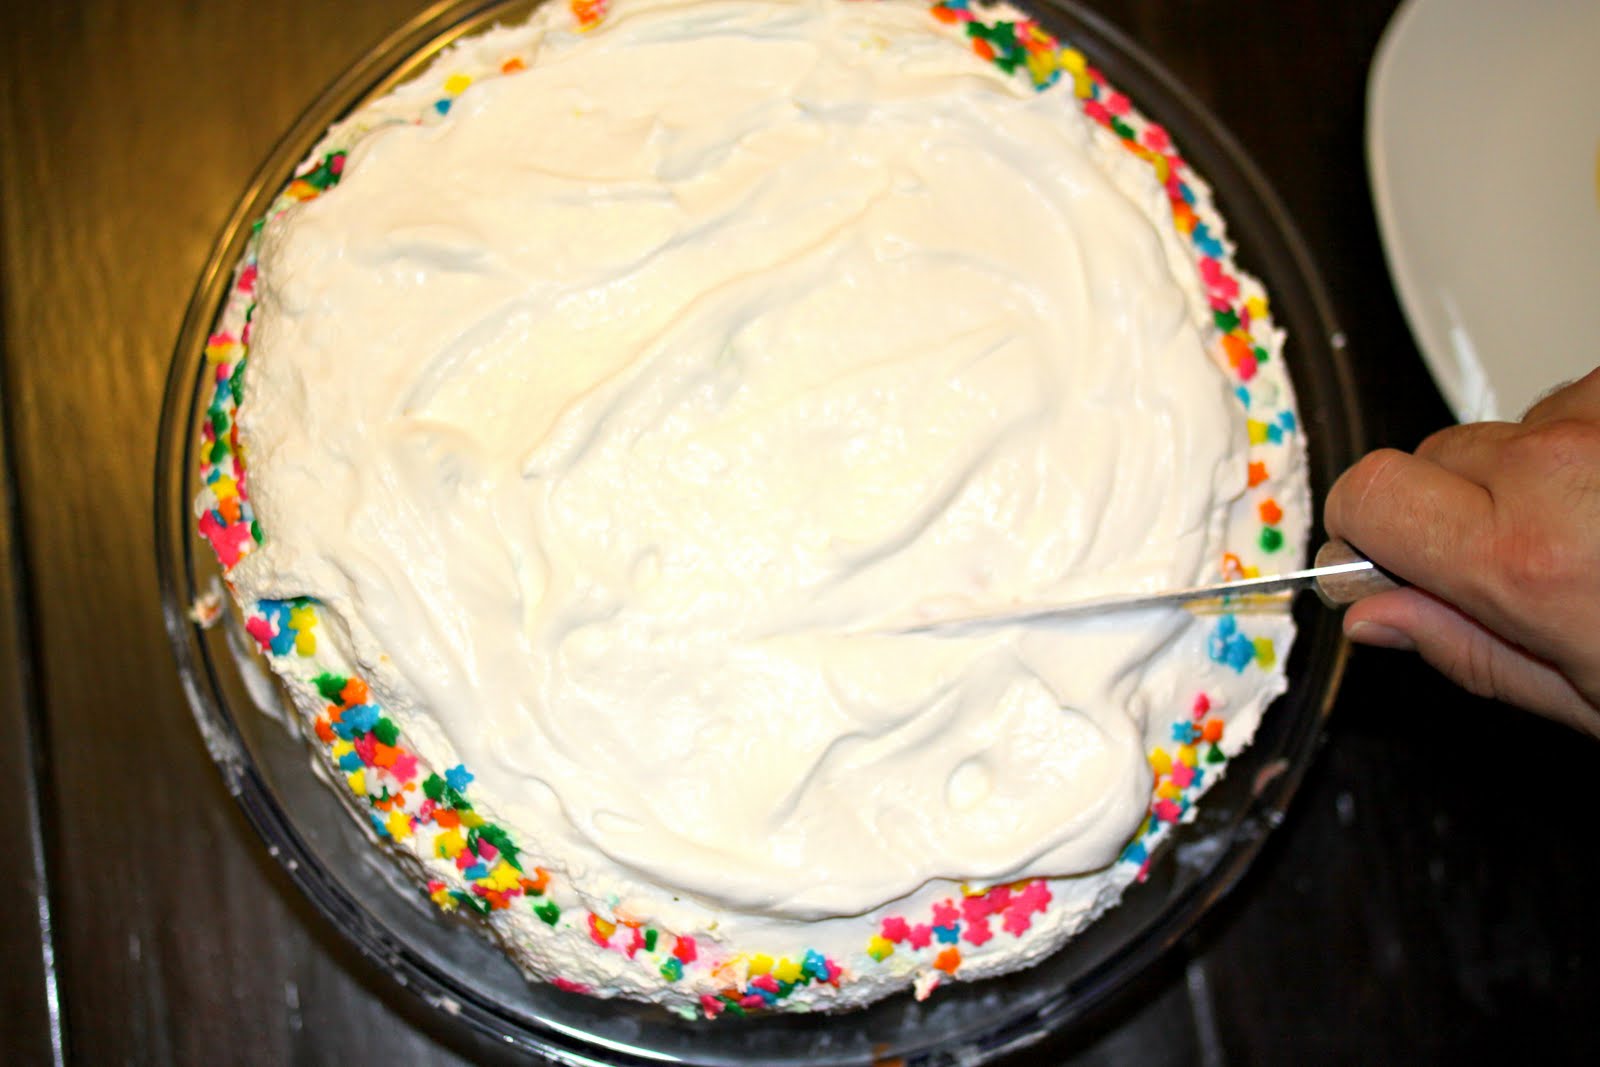 Then make your cut vertically to the corner of your other cut... not 1/4 of the cake this time, but still a good chunk.
 Then cut your slices about 1/2" - 1"... as I said before, I like to start in the middle, but if you are new at this, you probably want to start from the outside... again, make sure you have someone there to plate these slices and also to keep the cake from falling off
 Continue slicing...

 And plating...
 I love how even this bottom layer turned out... just like a real rainbow...
 Ok, once we have sliced our bottom row, we will move up.... this time I like to do the vertical cut first, so I can gage how far up to cut (want to stop about halfway from the top)
 As before, do your horizontal cut all the way to the edge
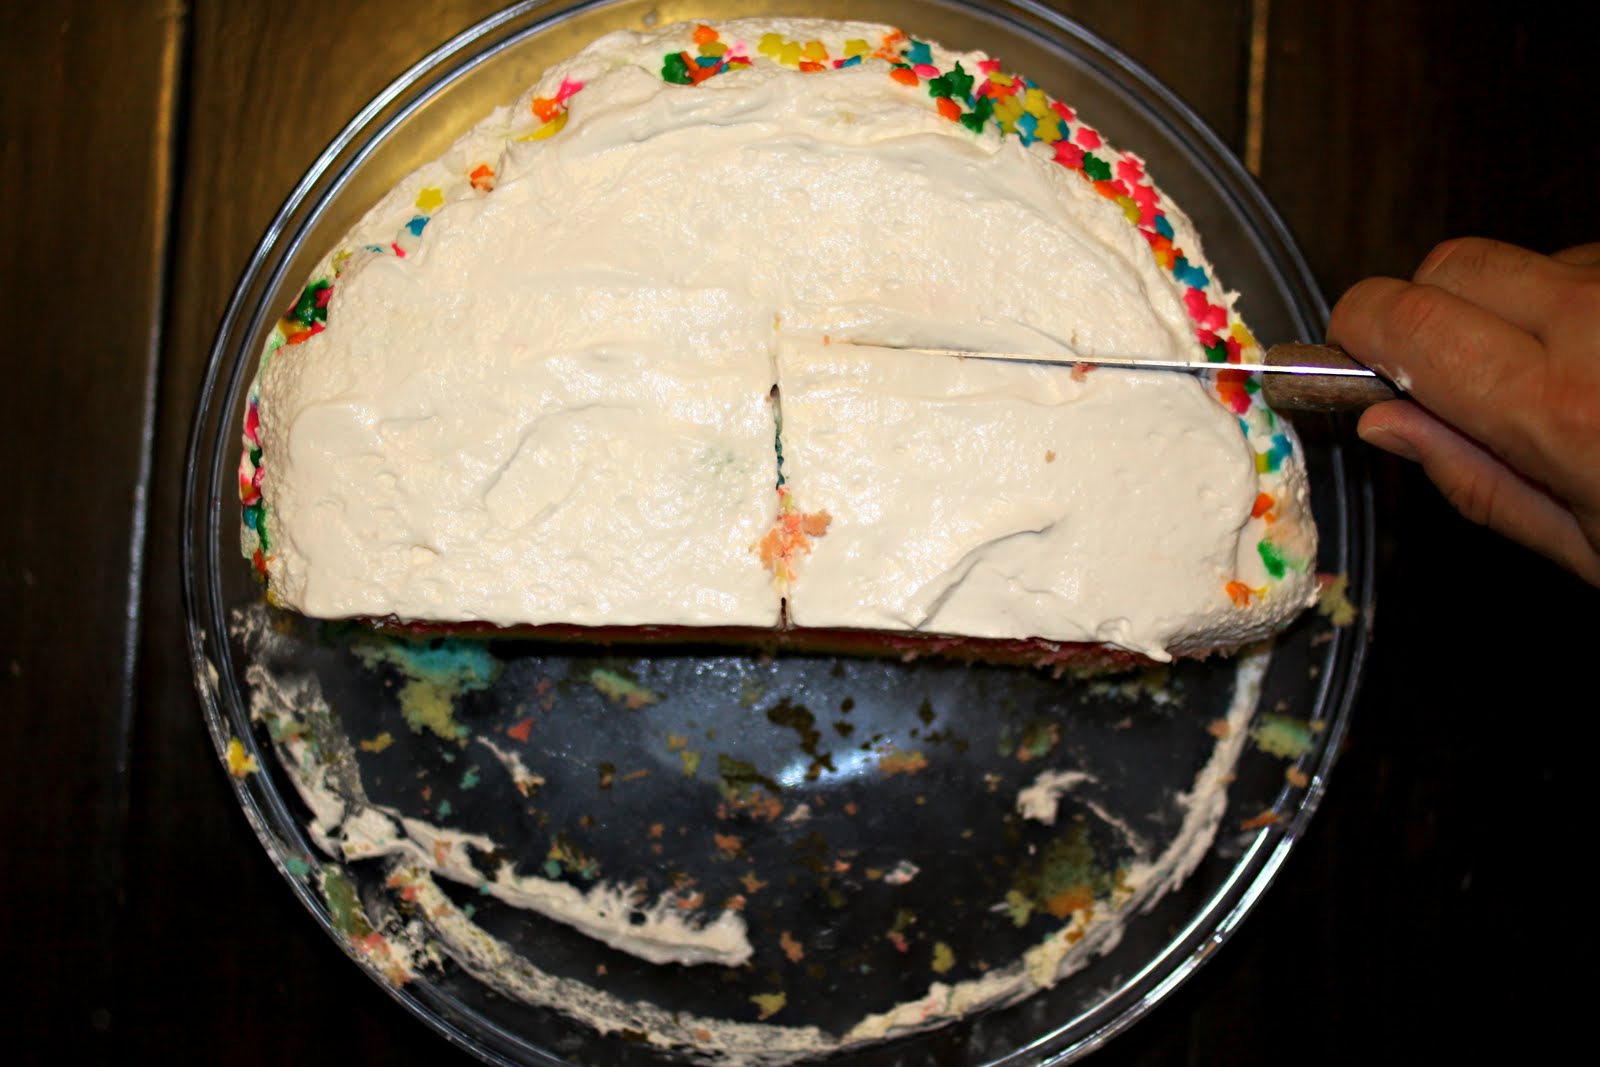 Then slice.... again, make sure you have someone to plate and to balance the cake (its a little easier when its the bottom layer)
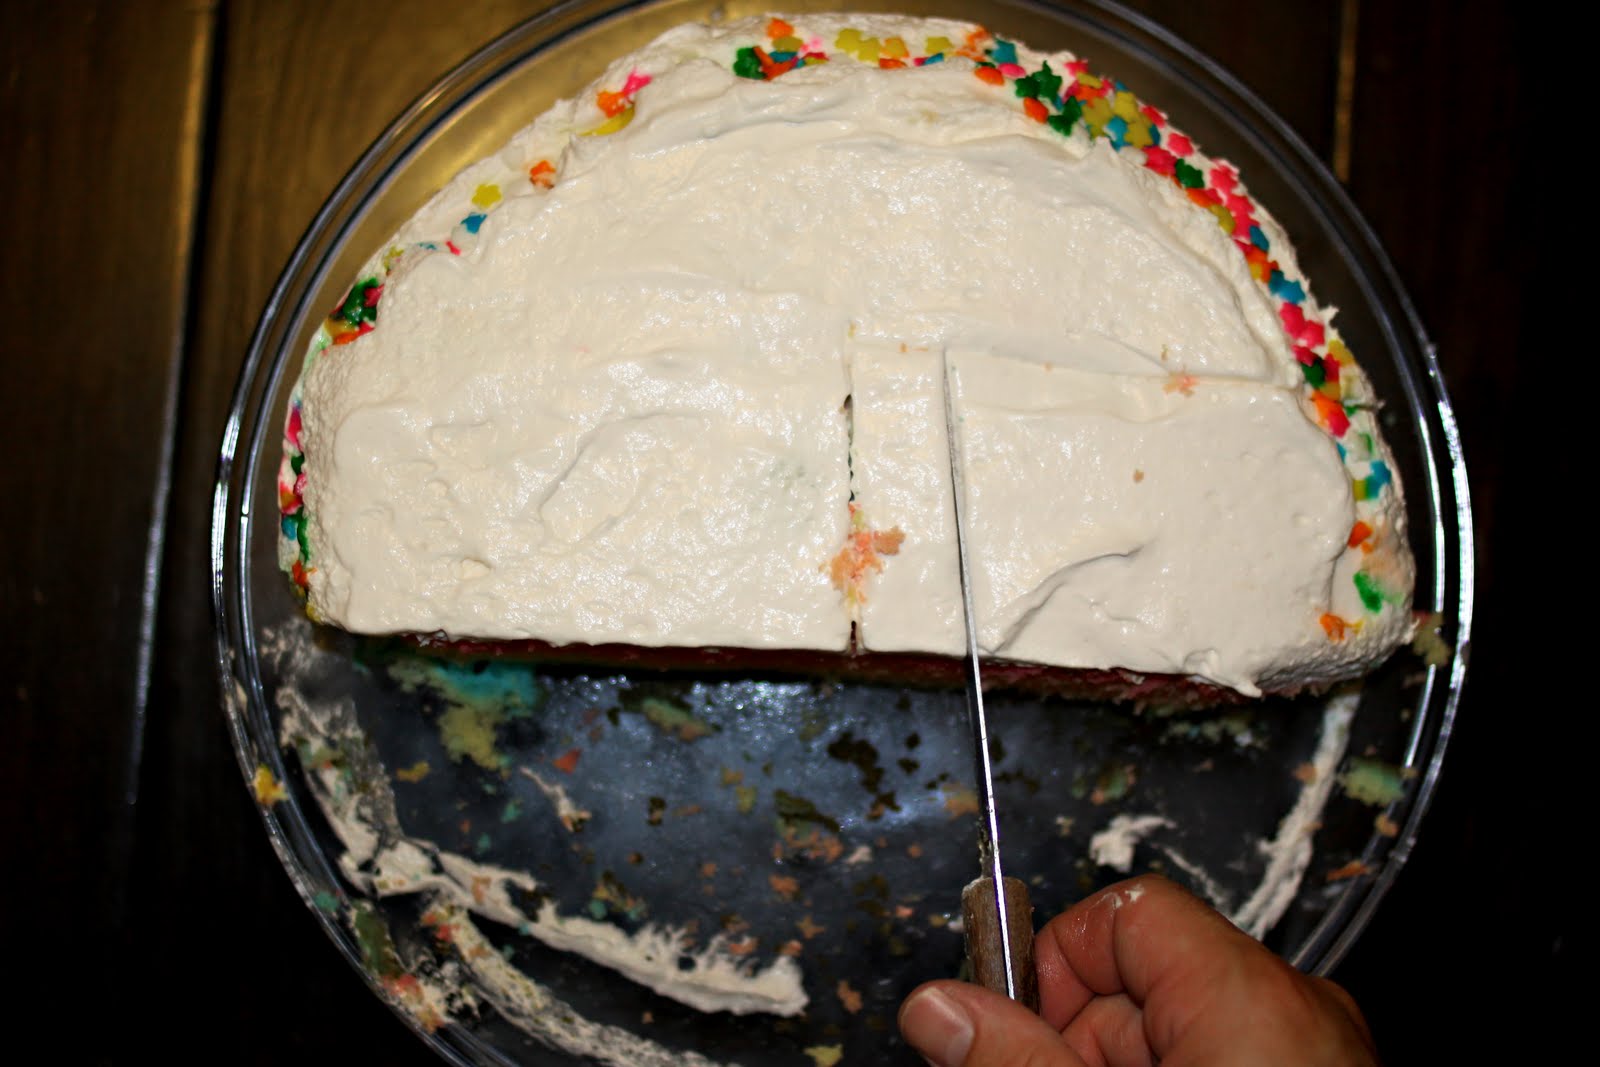


 We plated from the outside this time.... :)
 And here is what the cake actually looks like at this point.
 Go ahead and finish off that row...
 On to the last row.... go ahead and make your vertical cut in the middle
 And then slice as before.
 And there you have it.... :) (click on pics to view larger)
.
A quick tip for brides: Order the cake for half as many people as you invited. So if you invited 100 people, only order cake for 50 people. Not everyone is going to show up and not everyone is going to eat cake.... this will save you money and from having a whole layer of cake at the end of the reception.
.
I cant wait to hear from you.... and if you want to chat or have a question, email me at talleyimages@yahoo.com - I would love to hear from you.


